
Mistral Ceiling Fan Installation Guide – What You Need to Know in Singapore
Need Professional Ceiling Fan Installation? WhatsApp us for Help! WhatsApp Us Now!
Installing a Mistral ceiling fan helps improve air circulation and keep indoor spaces more comfortable. With Singapore’s tropical climate, a reliable ceiling fan can make a difference in staying cool while reducing air conditioning use. Understanding the ceiling fan installation process is important for getting it done right. This article covers the preparations, tools, and steps needed to properly install a Mistral ceiling fan.
Preparing for Mistral Ceiling Fan Installation
Choosing the Right Installation Location
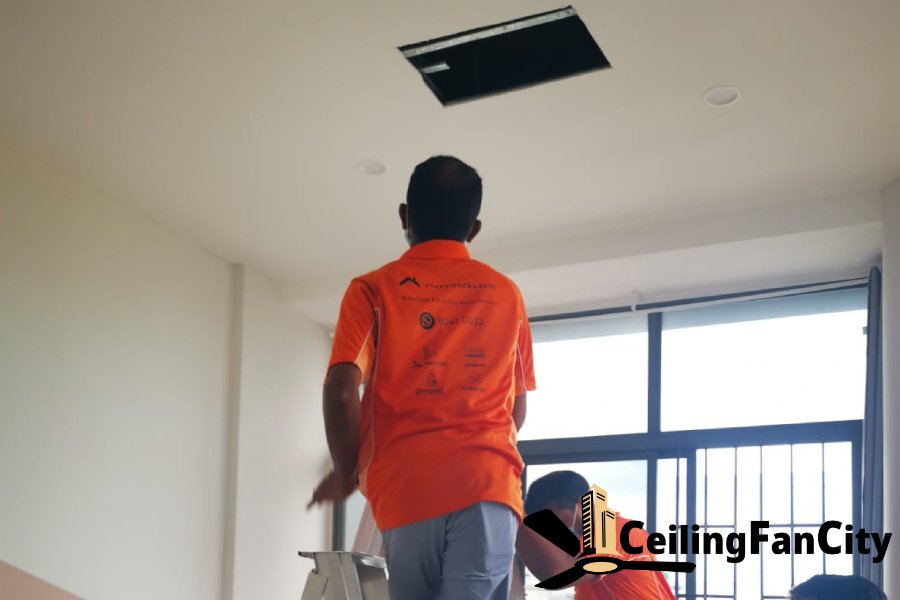
To choose the right ceiling fan installation location for maximum airflow, it’s important to position the fan where air can circulate efficiently. A Mistral ceiling fan should be centrally positioned to allow even air circulation, ideally mounted 2.1 to 2.4 meters above the floor and at least 30 centimeters from walls. Ceiling height also affects airflow, with downrods helping in higher spaces and flush-mounted fans working better for lower ceilings. The room’s purpose should also be considered, such as selecting a fan with minimal noise for bedrooms or one that emphasizes airflow and design for living areas.
Understanding Electrical Requirements
There are important points to note before installing a ceiling fan, especially when dealing with electrical work. While it may seem manageable as a DIY task, hiring a professional ceiling fan installer with electrical expertise is the safest approach. A Mistral ceiling fan typically requires a dedicated circuit, and an electrician can assess whether the existing wiring can support the fan’s load to prevent overheating or power issues. Most ceiling fans in Singapore operate on 220-240V, so checking compatibility with the home’s electrical system is essential. Using the right circuit breaker and switches is also important to avoid potential safety hazards during ceiling fan installation.
Tools & Materials Needed for Installation

Having the right tools and materials helps prevent issues that could lead to signs your ceiling fan has been incorrectly installed. A sturdy step ladder is needed for safe access to the ceiling, while a power drill secures the mounting bracket and fan assembly. A screwdriver is essential for fastening screws and handling electrical connections. Materials should include the mounting bracket, fan blades, light kit if applicable, and the necessary wiring or connectors. Wire nuts or electrical tape ensure secure connections, and safety gear like gloves and goggles adds protection during installation.
Step-by-Step Guide to Installing a Mistral Ceiling Fan
Securing the Mounting Bracket
A properly secured mounting bracket is crucial, as it supports the fan’s weight and affects its stability over time. The bracket should be attached to a ceiling joist for secure support, which can be located by tapping the ceiling for a solid sound or using a stud finder. After locating the joist, align the bracket and mark the screw holes for drilling. Using the right screws and anchors ensures the fan remains stable. Drilling pilot holes prevents ceiling damage, and a final check by gently tugging on the bracket can confirm it’s secured in place. A secure mounting helps prevent issues like wobbling or excessive strain on the fan’s structure. One reason why professional ceiling fan installation is important for safety and durability is improper mounting can lead to instability and potential safety hazards.
Assembling the Mistral Ceiling Fan
After you choose the right Mistral ceiling fan for your home, assembling it correctly helps it work as intended. Begin by unboxing all components and following the manufacturer’s instructions. Securely fasten the fan blades to the motor unit to stay properly aligned and keep the fan stable while running. This step may involve using screws or clips, depending on the fan model. If the fan includes a light kit, install it at this stage since it typically connects directly to the motor unit, to ensure everything is properly secured before installation.
Wiring & Electrical Connections

Wiring and electrical connections play an important role in installing a Mistral ceiling fan, and any mistakes can lead to safety risks or malfunctions. Before starting, the power should be switched off at the circuit breaker. The next step is to identify the wires, which typically include black (or red) for live, white for neutral, and green or bare for grounding. These wires need to be securely connected using wire nuts, with no exposed wiring left. Since wiring setups can vary depending on ceiling layouts, professional installation can be helpful. Make sure to be mindful of the factors that affect the duration of professional ceiling fan installation, such as wiring complexity, ceiling height, and access to the electrical supply, to ensure a hassle-free installation.
Attaching & Testing the Ceiling Fan
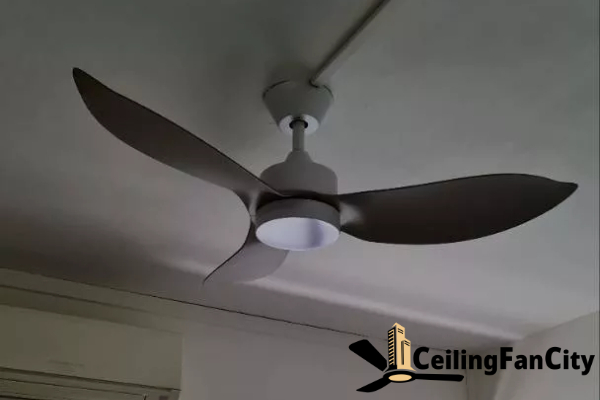
Attaching the ceiling fan to the mounting bracket is the final step before testing its functionality. Carefully lift the fan and align it with the bracket, then secure it using the screws or bolts from the manufacturer’s instructions. This ensures the fan is firmly mounted and won’t become loose over time. After securing the fan, turn the power back on and test it to confirm it runs properly, without any unusual sounds or vibrations. Proper ceiling fan placement is important to make sure everything works as expected, and if needed, professional installation can help guarantee a proper fit.
Common Installation Challenges & How to Overcome Them
Ceiling Fan Wobbling After Installation
Ceiling fan wobbling after installation is a common issue that can arise, especially in DIY ceiling fan installation projects. Several factors, such as uneven blade attachment, an unbalanced fan, or an improperly mounted bracket, can contribute to this problem. To address it, start by checking if the blades are securely fastened and confirm they are evenly sized. If the blades are secure, check the mounting bracket to make sure it’s level, and if it’s not, some adjustments may be needed. In some cases, a balancing kit can help correct the wobble by adding weight to the blades, bringing them into balance. Having the proper tools and following the installation steps carefully can prevent such issues.
Electrical Wiring Issues
Electrical wiring issues can present significant challenges during Mistral ceiling fan installation, potentially causing safety hazards or malfunctioning. If the fan isn’t working properly, it can be a wiring issue. Start by checking that the circuit breaker is on and the fan’s switch is functional. Persistent issues might indicate faulty wiring or circuit problems. Similarly, flickering lights or inconsistent fan speeds often point to wiring issues. To avoid complications, it’s important to engage a professional for a ceiling fan installation, as their expertise and experience can help resolve electrical wiring issues effectively to avoid safety hazards.
Fan Speed Not Adjusting Properly
If a Mistral ceiling fan isn’t adjusting its speed properly, it could be due to incorrect wiring or a faulty speed control switch. Start by checking the wiring to ensure it aligns with the manufacturer’s specifications and that no connections are loose. If the wiring appears correct, the speed control switch might be the issue and may need replacement. Things to consider before purchasing a ceiling fan include the warranty, as it can provide assurance that defective components will be repaired or replaced without any hassle.
Cost of Mistral Ceiling Fan Installation in Singapore
Estimated Cost Range for Professional Installation

When looking into the costs of a Mistral ceiling fan installation in Singapore, homeowners should expect prices ranging from SGD 80 to SGD 250, depending on various factors. Costs can rise if the installation requires additional electrical work or ceiling adjustments. The choice of service provider can also affect the price; larger companies with more experience may charge higher rates, while smaller contractors may offer more affordable options. Homeowners should consider both the cost and the expertise of a professional when deciding between DIY installation and hiring a qualified technician.
Contact Ceiling Fan City for Professional Expert Mistral Ceiling Fan Services
When it comes to ceiling fan installation, contact Ceiling Fan City Singapore. We specialize in expert ceiling fan installations, ensuring a smooth and professional setup every time. Our team of trained technicians is equipped to handle any installation challenges while following safety standards. With a proven track record, homeowners can trust us to get the job done right. Check out our portfolio of projects to see how we can transform your space, and contact us for your Mistral ceiling fan installation today.
Conclusion
Choosing a Mistral ceiling fan for your home in Singapore is a smart decision because it combines efficiency with a design that complements any home’s interior style. These fans are designed to provide efficient cooling, making them perfect for Singapore’s hot and humid climate. With energy-saving features, they help reduce electricity bills while keeping your home comfortable year-round. Whether installing the fan yourself or hiring a professional, knowing the right steps helps maximize comfort. For expert assistance with installation, reach out to Ceiling Fan City today and enjoy the benefits of a properly installed Mistral ceiling fan.
Ceiling Fan City Singapore provides a one-stop supply and installation of high-quality ceiling fans, wall fans/wall mount fans, and corner fans in Singapore. Our professionally trained electricians make sure that your ceiling fan installation and replacement are well-handled and will last for a long time without any need for repair. Ceiling Fan City Singapore offers affordable and reasonable pricing, with no hidden costs. Check out our articles to have a wider view of the products, services, and ceiling fan brands we offer. Contact us today for a reliable ceiling fan service. WhatsApp us at +65 8241 0032.